As an Editor in Live Blog, you have full creative freedom over your blog. Blog creation, Team members, and Timeline adjustments are all within your control. This guide takes you through the basic steps to get started in Live Blog Pro.
Getting Started as a Blog Editor
- Log in
- Create your blog
- Invite Team members
- Adjust Theme settings
- Write and publish posts
- Approve Contributions and Comments
- Check your Timeline / Live view
Step 1: Log In
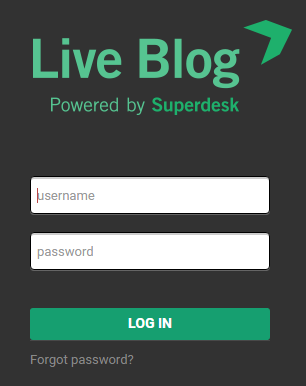
Log in to your Live Blog web application to get started.
Step 2: Create your first Blog
When you log in to Live Blog for the first time, you will need to create a new blog. Depending on your Live Blog Pro plan, it may be possible to have several blogs at the same time.

Click on the Create icon, just below your user icon, in the top right corner of the Live Blog interface. This will open a new window where you will need to confirm details for your blog.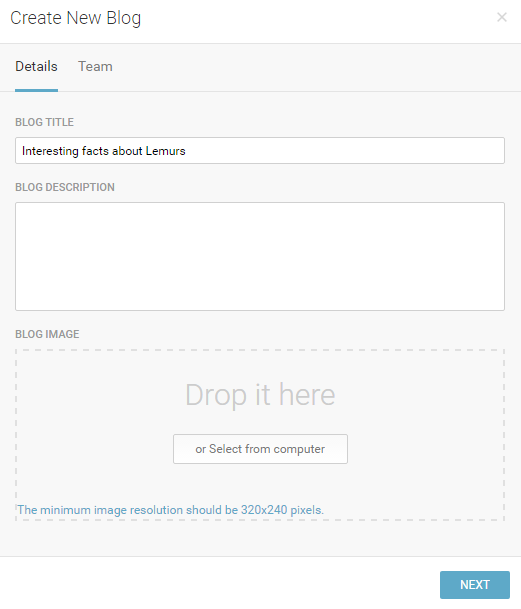
In the Details tab of the Create New Blog window, give your blog a title, then optionally upload a blog image and enter a blog description in the text box. The blog image and blog description may appear on your blog timeline, depending on your Theme settings. (See Step 4: Adjust Theme settings.)
Step 3: Choose and invite Team members
In the Team tab of the 'Create New Blog' window, you can give additional users permission to access and contribute to your blog. Search for users who are already users in your Live Blog instance by typing their names in the search bar.
Note that if you invite other users who have the Editor permission level to your Team, they will have the ability to publish posts to your blog. Team members with the Contributor permission level will not be able to publish directly to the Live view.
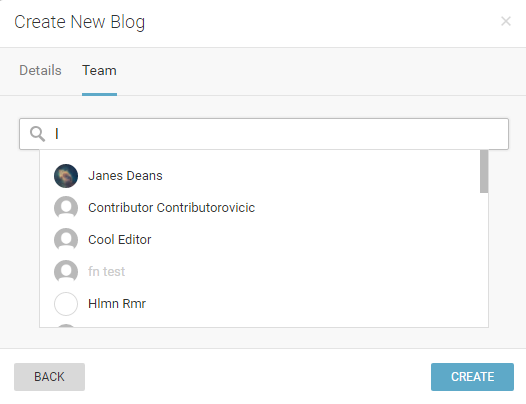
If you would like to invite users who aren’t already part of your Live Blog instance join your Team, ask your administrator to create a user profile for them.

Once you have selected Team members, click the blue CREATE button at the bottom of the window to start adding content to your Blog. This will take you directly into the Blog Editor mode.
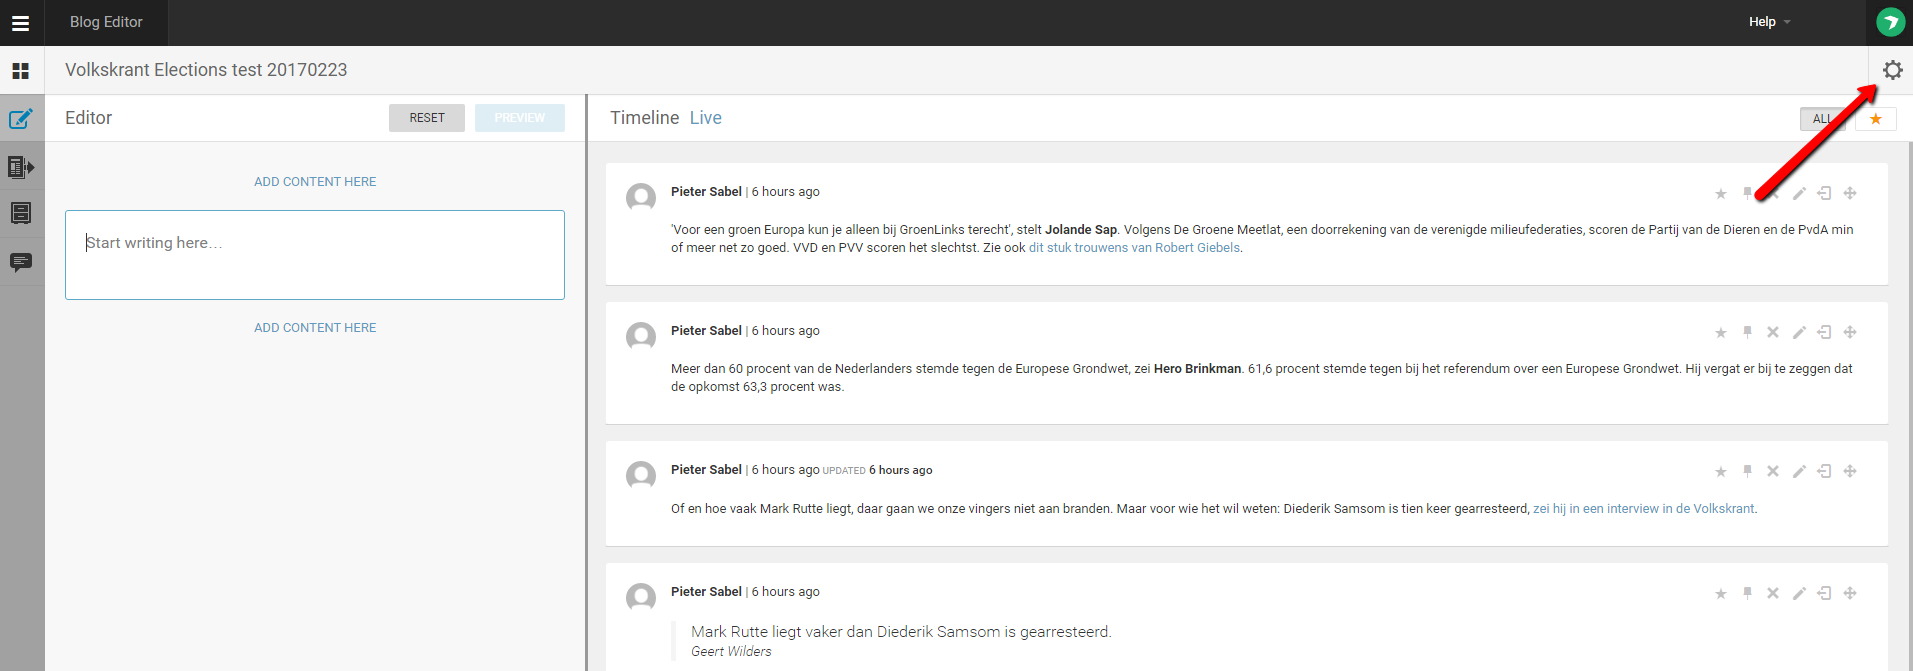
After your blog has been created, additional Team members can be added to your blog Team by accessing the Team tab of the Blog Settings menu. You will find the gear-shaped Blog Settings icon in the top right of the Blog Editor mode.
Step 4: Adjust Theme settings

Choose a Theme for your blog by clicking on the Blog Settings menu (gear icon) in the top right corner of the Blog Editor mode.
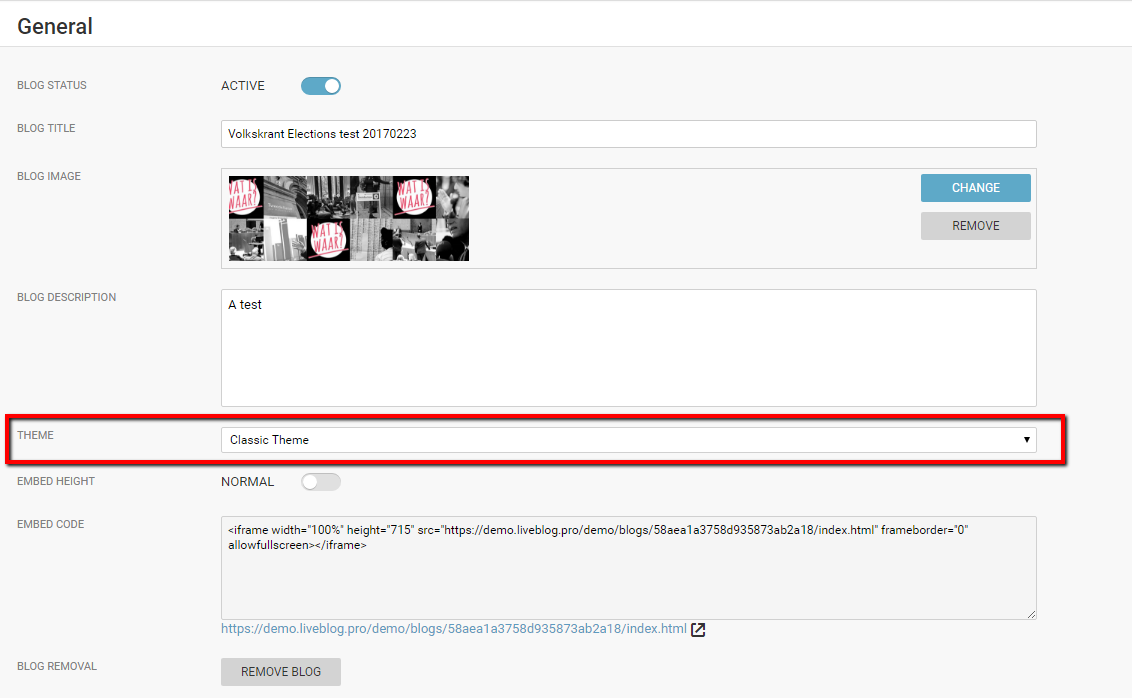
When your blog is created, it will be assigned to the default Theme. The default Theme can be changed in the Theme Manager section of the main Settings menu.
Change the Theme of your blog in the individual Blog Settings menu (gear icon) in the top right corner of the Blog Editor mode. Select a different installed theme from the drop-down menu in the general blog settings.

You can further adjust the look of your blog by adjusting the settings of the Theme that you’re using. Access the general Theme settings from the main Settings menu > Theme Manager. Note that any changes to the Theme settings will affect every blog using that Theme. You can read more about Themes here.
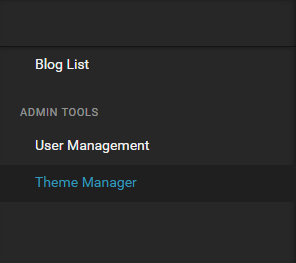
In the Theme Manager, you will see a list of all your installed themes. Your default theme will be highlighted in blue with a large blue check-mark on the right side.
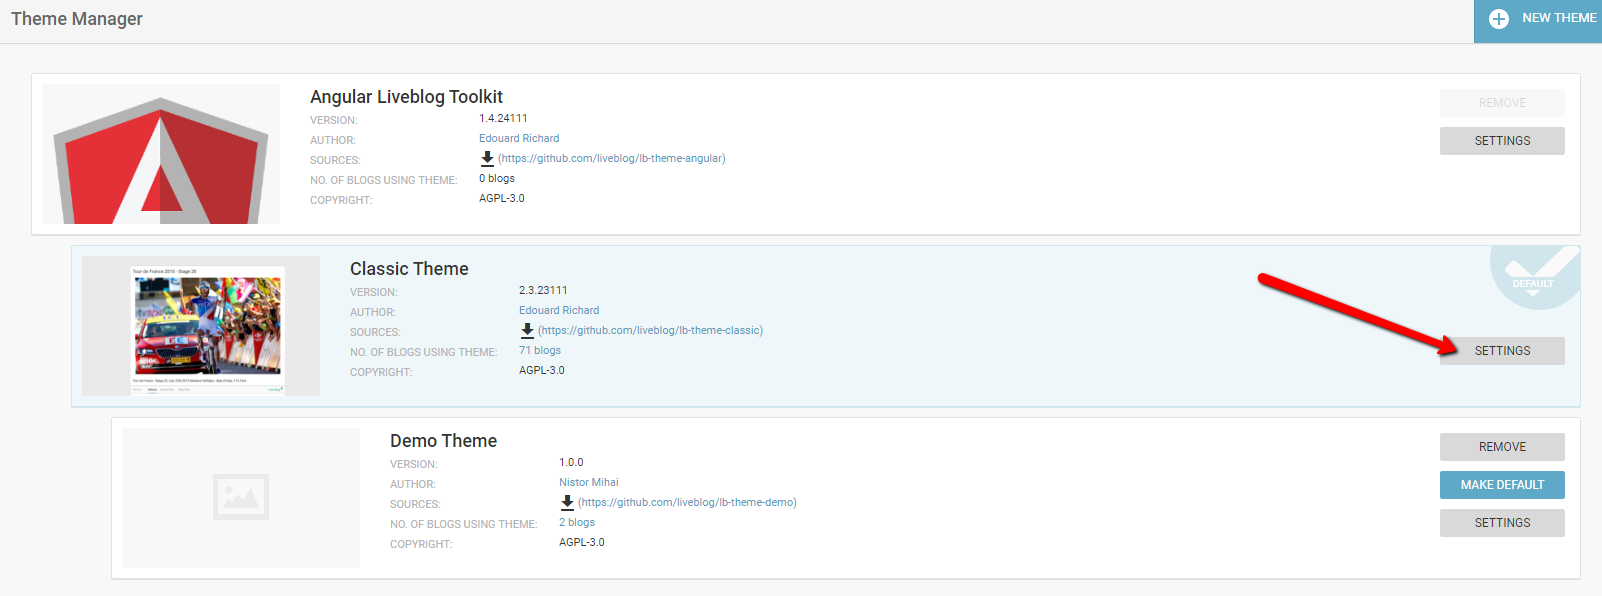
Adjust the settings of your chosen Theme by clicking on the corresponding SETTINGS button.
The most popular settings are covered below:
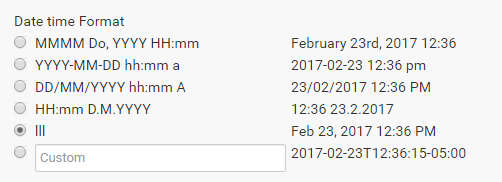
Change how the date and time are displayed in your blog’s Live view. Select from 5 different options, or create your own.

Change the navigation language on the Live view by selecting a language from the drop-down menu. Your readers will be able to navigate your blog in your chosen language. This doesn’t not affect the language of the blog’s content.

Customise the look of your blog with the option to show the blog image, blog title and blog description at the top of the Live view. Leave the boxed unchecked if you don’t want the item to appear on your blog.

Decide whether your readers can submit Comments. Comments are not automatically posted once submitted. Even if Comments are enabled, they will still need to be approved by a blog editor before they are visible to other readers. Leave the box checked if you want to add the Comments feature to your blog.
Highlights are also optional. The Highlights feature allows posts to be pinned to the top of the Live view by the users. Readers will always have the option to organise the order of the posts in the Live view Sort Bar. Highlights only appear in the Editorial view. Leave the box checked if you want to add the Highlights feature to your blog.
Step 5: Write and Publish Posts
Once you have created your blog and adjusted your Theme settings, will be taken directly into the Blog Editor mode. Access your Blog Editor mode at any time by clicking on your blog in the Blog List View.
On the left side of the Blog Editor pane, you will see tabs:
![]() Editor tab - allows you to add new content to the blog.
Editor tab - allows you to add new content to the blog.
![]() Contributions tab - for completed posts from other users, not yet published.
Contributions tab - for completed posts from other users, not yet published.
![]() Drafts tab - incomplete posts, to edit. You cannot publish directly from the drafts tab.
Drafts tab - incomplete posts, to edit. You cannot publish directly from the drafts tab.![]() Ingests tab - allows you to import posts from other Live Blog instances.
Ingests tab - allows you to import posts from other Live Blog instances.
![]() Comments tab - as an Editors, you can publish audience Comments to your blog.
Comments tab - as an Editors, you can publish audience Comments to your blog.
If Comments are not enabled in your current Live Blog Theme, you will not see the Comments tab in your Blog Editor mode.
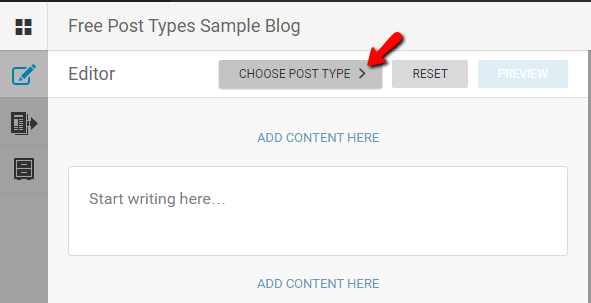
You can add text or media to your blog directly from the Blog Editor Mode. Click the CHOOSE POST TYPE button. You will most commonly use the Default post type, described below. Other options include Advertisement types and Scorecards, in addition to user-created Free Types. (Read more about the other post types in the Live Blog manual.)

If you’ve selected the Default post type, clicking on the grey ADD CONTENT HERE button allows you to select the type of media that you wish to add. You can have multiple types of media in a single blog post.
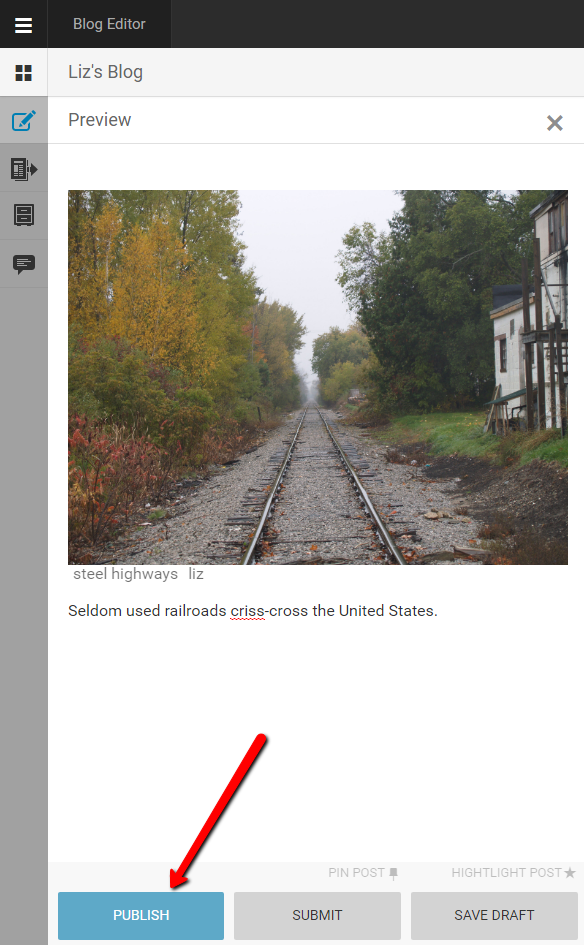
To make your newly created content visible to your readers, click on the PUBLISH button at the bottom of the pane. If you would like feedback from your Team members before publishing, click the SUBMIT button instead. Submitted post are available to be viewed by your Team members in the Contributions tab.
Once you click the PUBLISH button, your post will be made public.
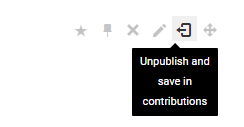
If you accidentally publish something you shouldn’t have, posts can be unpublished from the Timeline view by clicking on the Unpublish icon at the top of the post.
Step 6: Approve Contributions and Comments
![]() Contributions tab
Contributions tab
When members of your Team submit posts for your blog, you will find them in the Contributions tab of the Blog Editor mode.
As an Editor, you have the ability to publish posts that have been contributed by your Team members. At the top of each post in the Contributions tab you will see grey icons. They are pictured above from left to right: highlight, pin, remove, edit and publish.

Choosing to editing a post will re-open the post in the Editor tab. If you make any changes to a contribution prior to publishing it, you will become the new author in the Live view once you publish it.
When publishing a post from the directly Contributions tab, the original author will remain the same in the Timeline view.
![]() Comments tab
Comments tab
If Comments are enabled in your Theme settings, you will be able to add Comments from your readers to your blog Timeline as well. You will see readers Comments in the Comments tab of the Blog Editor. Each Comment need to be individually approved and published by the blog editor before the Comment will appear on the Live view.
Note that you can never edit the text of a reader’s comment. By clicking the edit icon, you can add replies or images prior to publishing the comment but the text of the original comment is fixed.
Step 7: Check your Timeline / Live view
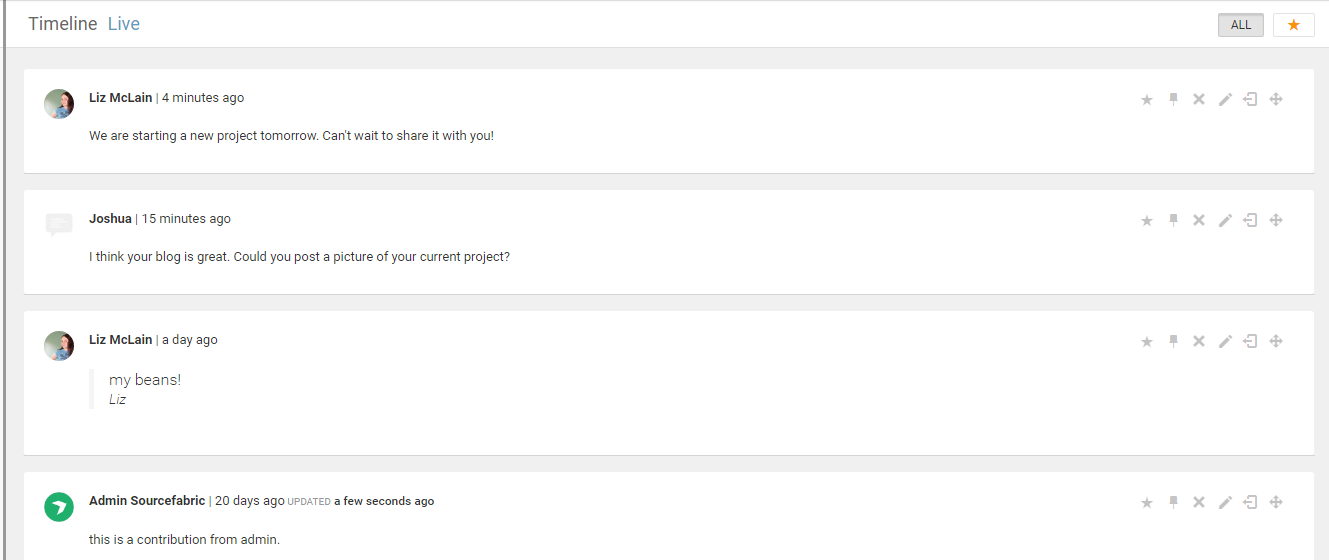
On the right side of the Blog Editor mode, you will find the Timeline view. The Timeline view shows all of your published posts so far. 
From the Timeline view, you have full control over the posts that are visible to your readers. You can delete or unpublish posts from your blog using the grey icons at the top of each post. The icons are pictured above from left to right: highlight, pin, remove (delete), edit, unpublish and re-order. For more information on pins, highlights and reordering posts, see the full Live Blog manual.
You can view your blog, as it appears to your readers, by clicking on the Live link at the top of the Timeline view.
0 Comments