Creating a New Blog
Administrators and Editors can create new blogs from main Blog List view. The reasons that you might want to create a new blog include starting to write about a new topic or you want to collaborate with a different team of people.

Click the CREATE icon in the top right corner of the Live Blog interface.
![]()
Clicking on the CREATE icon will open a new window where you can specify the details for your new blog.
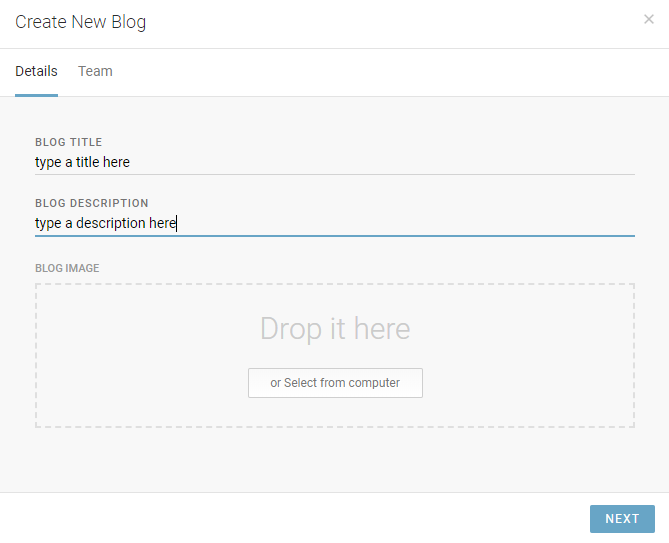
In the Details tab of the Create New Blog window, you will need to give your new blog a title in the BLOG TITLE text box. Filling in the BLOG DESCRIPTION and adding a blog image are optional, but recommended. The blog image minimum resolution should be 320x240 pixels.
You will not be able to save your blog until you give it a name in the BLOG TITLE text box.
Clicking on the NEXT button will take you to the Team tab.

The Team tab of the Create New Blog window is where you can give other users permission to access and contribute to your blog. You can always add more users later in the individual blog settings. To search for users, type their names in the search bar of the Teams tab.
Once you click the CREATE button, your blog will be active and ready to be filled with content.

You will see your newly created blog at the top of the Blog List view in the Active Blogs tab.
More Blog Settings
After your Blog has been created, you can further adjust your settings choices by clicking on the gear icon at the top of the Timeline view of your selected Blog.

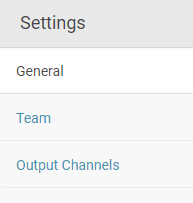
Once you’ve clicked on the gear icon, you will see three tabs on the left side of the Blog Settings interface: General, Team and Output Channels.
General Settings
In the General Blog Settings you can activate and deactivate the blog, change the title, description and main image of the blog (which may or may not be visible to your readers based on your Theme settings). The General Settings is also where you will find the embed code for your blog. 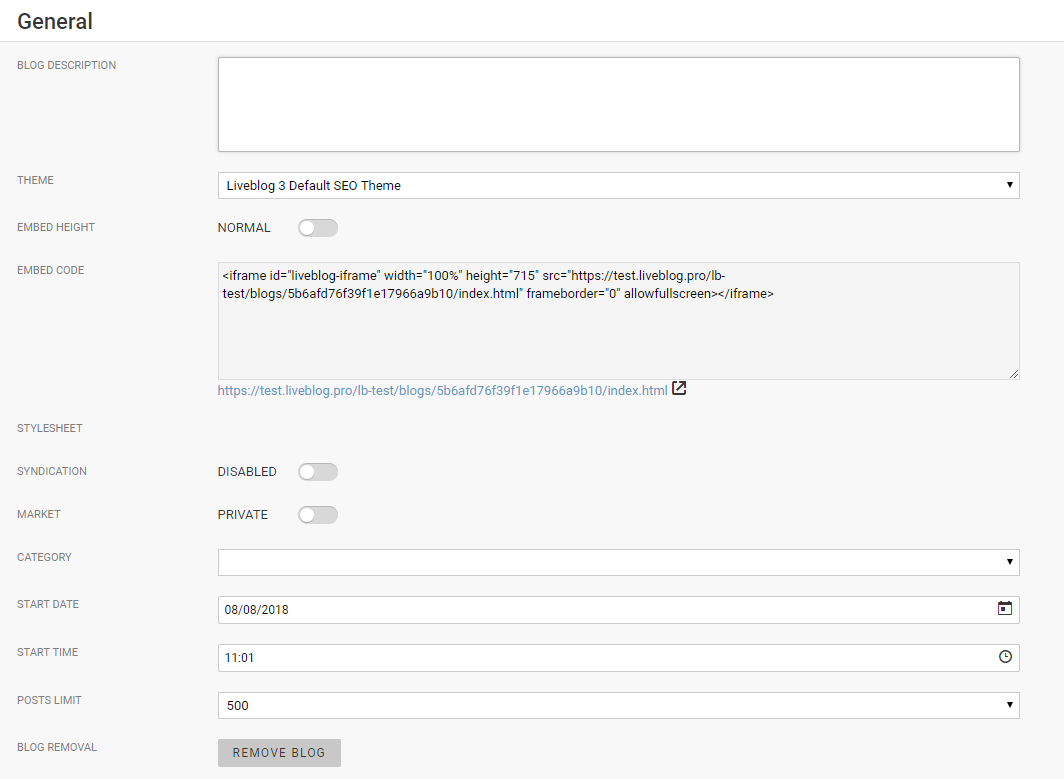
In the General Blog Settings, you can enable the blog for syndication and add the blog to the Live Blog Marketplace. More info about the blog to show up in the marketplace can be provided: category, start date and time.
Note: In order to have your blogs show up in the marketplace it requires a plan “Team” or higher and you will need to contact the Sourcefabric support team to enable the feature for you.
Blog Status

The first setting in the General tab is for Blog Status. This blue toggle will allow you to archive the blog. Archived Blogs cannot be updated with new content. Once archived, the Blog will no longer appear in the Active Blogs tab of the Blog List view.

If you set the Blog status to Archived, you will only be able to view the Blog in the Archived Blogs tab.

When you click on the Archived blog, you will see that you need to change the status to Active in order to be able to update the Blog. Clicking on the change the blog status link will bring you back to the Blog settings window, where you can adjust the toggle back to the Active setting.
Blog Title
The Blog Title is what your readers will see at the top of your Blog. You can change your Blog Title at any time in this Blog Settings menu.
Blog Image
The Blog Image is a great way to make navigation of the Blog List view easy when using the grid view. Depending on your choice of Theme, the Blog Image may or may not be visible to your readers at the top of your Live view.

If you didn’t already, you can add an image to your blog by clicking the UPLOAD IMAGE button.

If you added an image in your original blog set-up, you can choose a new image by clicking on the CHANGE button, or delete the image without replacing it by clicking on the REMOVE button.
Blog Description
You can change your Blog description here. Your Blog Description can be visible to your readers on the Live view, just below the Blog Title if you have it enabled in your Theme settings.
Theme
Your Blog Theme affects how your Blog looks to the readers. You can create new Themes from the Theme Manager section of the Hamburger menu.
Choosing a different Theme can affect blog settings such as the default display language, whether or not readers are allowed to submit comments, and whether or not the Blog Image is visible to the reader.
Embed Height


You can switch the embed code between normal and responsive. The first option generates a standard i-frame where you can set the width and height manually. The responsive embed code includes a javascript which will automatically adjust the height of the i-frame depending on the length of the original material.
Embed Code
You can view the current HTML Embed Code within the text box. If you are familiar with HTML you can edit the Embed Code here.

Clicking on the link below the text box will let you view your blog as it currently appears to readers.
Syndication and Market Settings

Enable or disable syndication using the syndication toggle or add your blog to the Live Blog Marketplace by sliding the Market toggle from “private” to “marketed”. Choose from seven different Marketplace categories: Breaking News, Entertainment, Business and Finance, Sports, Technology, Politics or Other. Note that in order for a blog to be visible in the Marketplace, the blog must first be registered with Sourcefabric’s Marketplace database, otherwise the Market toggle will do nothing.
Post Management
These settings allow you to designate a date and time for your blog to go live as well as limit the number of posts.

Posts limit
Sometimes you may want to use Live Blog to report on a certain topic over a longer period of time and soon the blog may grow to a size with a massive amount of older and outdated posts. If you would like to avoid that and also make sure that the performance of your Live Blog remains fast, you can decide to limit the max number of posts per blog by setting a limit in the blog settings.

If the chosen number of posts has been reached, the next post published will replace the oldest post as long as it is not pinned or highlighted. A user notification will inform the editor about it and ask for his consent.
Remove Blog
You can permanently delete the blog using this REMOVE BLOG button.
If you click on the remove Blog button, a window will appear asking you to confirm your desire to delete the Blog. Once a Blog is deleted in this manner it cannot be recovered. If you wish to discontinue Blog updates but save the content, you can set the Blog Status to Archived instead of deleting it.

Please note that if you click the REMOVE BLOG button, the blog will be permanently deleted. This action cannot be undone.
Team
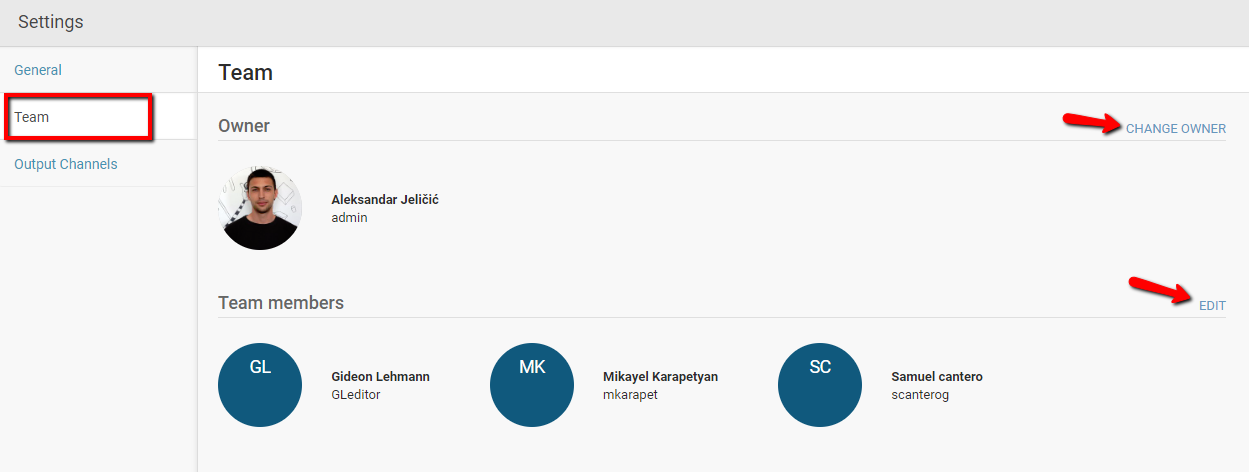
Clicking on the Team tab will allow you to add or remove team members for this blog, as well as change the blog ownership.
Output Channels
Clicking on the Output Channel tab will allow you to manage additional display styles for your blog by adding advertisements or applying a different branding by choosing a specific background color or logo or by assigning a completely different theme to provide your content in a completely different look and feel.
Note: Output Channels are also used to support the creation of AMP compatible blog embeds based on the AMP theme in parallel to the regular Live Blog output based on the Classic or Default theme.![]()
To create a new Output Channel, click on the create icon in the top right corner of the Output Channels pane.
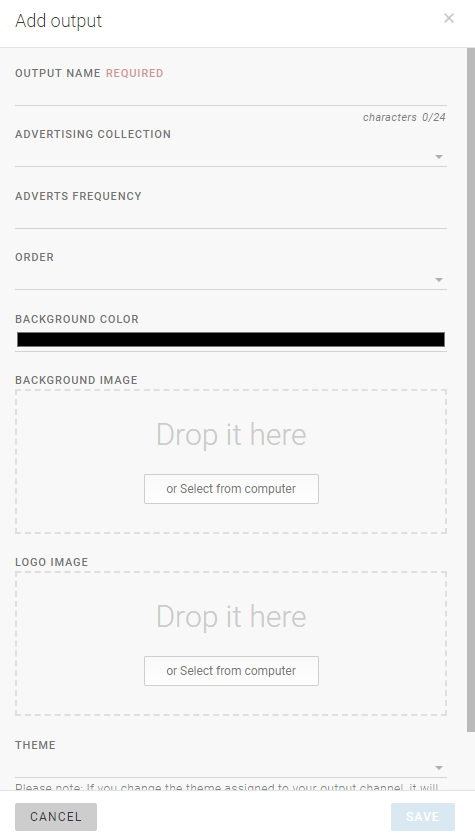
In an Output Channel, you can configure automatic advertisement insertion, display theme, background colour, background image and logo image.
When you are happy with your Output Channel settings, click the SAVE button in the bottom right corner.
Once your Output Channel has been created, you can manage your Outputs in the Output Channels pane. When you mouse-over your Output Channel, you will see three icons: world (embed), pencil (edit) and trash (delete).
Clicking on the world icon will allow you to view your embed code and a link to your blog which shows your blog displayed with your Output Channel specifications.
The edit icon will allow you to make changes to your selected Output Channel and the trash icon will allow you to delete your Output Channel.

When you are happy with all your blog settings, don't forget to click the SAVE button in the top left of the Blog Settings pane.
0 Comments