When you left click on a blog from the Blog List view, you are taken into the Blog Editor. On the left side of the interface you will see the Editor pane, which contains not only the Editor tab but also the Contributions, Drafts and Comments tabs. On the right side of the Editor you will find the Blog Timeline view and a link to the Live view.
Timeline view

The Blog Timeline view contains all the published blog posts. In the default Timeline view, blog posts will appear in reverse chronological, with the newest ones at the top, unless the post order has been manually modified. The post order can be manually adjusted in the Timeline view (detailed below), or by pinning posts so that they always appear at the top.

At the top of each post in the Timeline view, you will see action icons. When you hover over the icons with your mouse you will see tooltips for what each icon does. From left to right the icons are highlight, pin, remove, edit, unpublish, and re-order. All of these action icons are explained in detail below.


In the top right of the Timeline view, you will also find the gear button which will let you adjust the Blog Settings, as well the the ALL filter and Highlights filters. You can read more about highlights here.
Highlights

To highlight a post, click on the Highlight icon. When the highlight icon is yellow, the highlighted post will be available in the Highlight-only view by clicking the star button on the top right corner of the Timeline view. Blog readers also have the option to view the Highlights with a similar button from the website view. Highlighted posts will appear with a thin orange outline regardless of the view.
You can find more detailed instructions for the Highlight feature in this Help Desk here.
Sticky Posts

To pin a post, click the Pin icon. This will make the selected post stick to the top of the Timeline, in both the public view and the Timeline view. To remove the pin, click on the icon again so that it becomes grey.
You can find more detailed instructions for the Sticky Posts feature in this Help Desk here.
Remove

Clicking the Remove icon will open a window prompting you to confirm your intent to permanently delete the post.
Edit

Clicking on the Edit icon will open the selected post in the Editor tab. The post will remain visible in both the Timeline and publically while being edited.

When you are done editing your post in the Editor pane, click the update button to make the changes live.
Unpublish
Clicking on the unpublish icon will remove the post from the timeline and from public view, but unlike the remove icon which deletes the post, the unpublish action will save the post content in the Contributions tab of the Editor pane.
Re-order
Blog posts will by default appear in reverse of the publishing order. This means that unless you choose to arrange them differently, the most recent post will always at the top of your Blog. One of the ways that you can change the order of posts is by using the Change Order icon.

Once you’ve clicked on the Change Order icon, you will see spaces appear between each post in the Timeline view. In these spaces will be grey boxes with Click to place the post here. Once you’ve decided on where you would like to place the Post, simply click the grey box and the Timeline will automatically re-order.
Live view
If you click on the Live tab in the Timeline View, a new window will open showing you the blog as it appears on a website.

On the Live view, readers have the option to pick between oldest first, newest first or the default editorial view. This is called the sort bar. The editorial sort option is the only one in which manual changes and highlight are visible.
Depending on your Theme settings, your readers might also see a button to submit comments and view highlighted posts to the right of the sort bar. The Live view will also have your blog title at the top. It can optionally also contain your blog image and blog description if they are enabled in your Theme settings.
You can read more about Theme settings here.
Slideshow Feature
When you upload multiple pictures in a single post, your readers can make use of the Slideshow feature. The Sildeshow feature is part of the Classic Theme and does not require any additional, setup. The Slideshow feature can be turned on or off in the Classic Theme settings in the Theme Manager. When the Slideshow is turned on, Live Blog becomes ideal for photo blogs or any blog that posts multiple photos at a time.
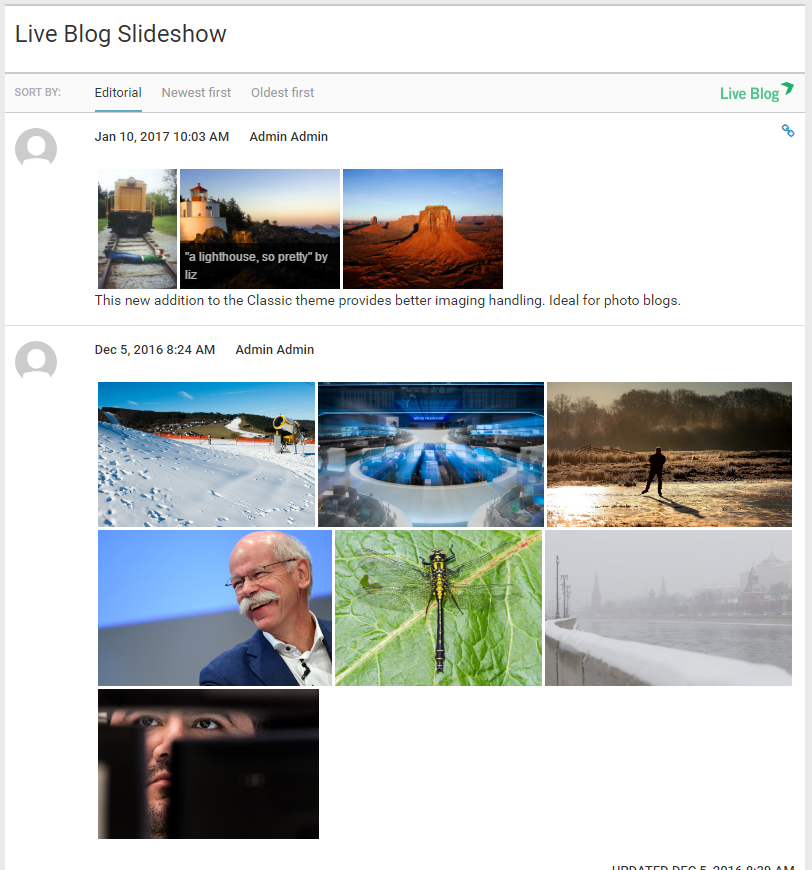
The Slideshow feature creates thumbnails of the images so that the reader can see many images on the same line, side by side.
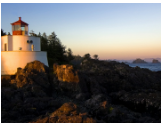
When a reader hovers over an image with their mouse, they will see an overlay with the image description and photo credit, as input by the author of the post.
 >
> 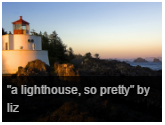
An example of the description overlay can be seen above.
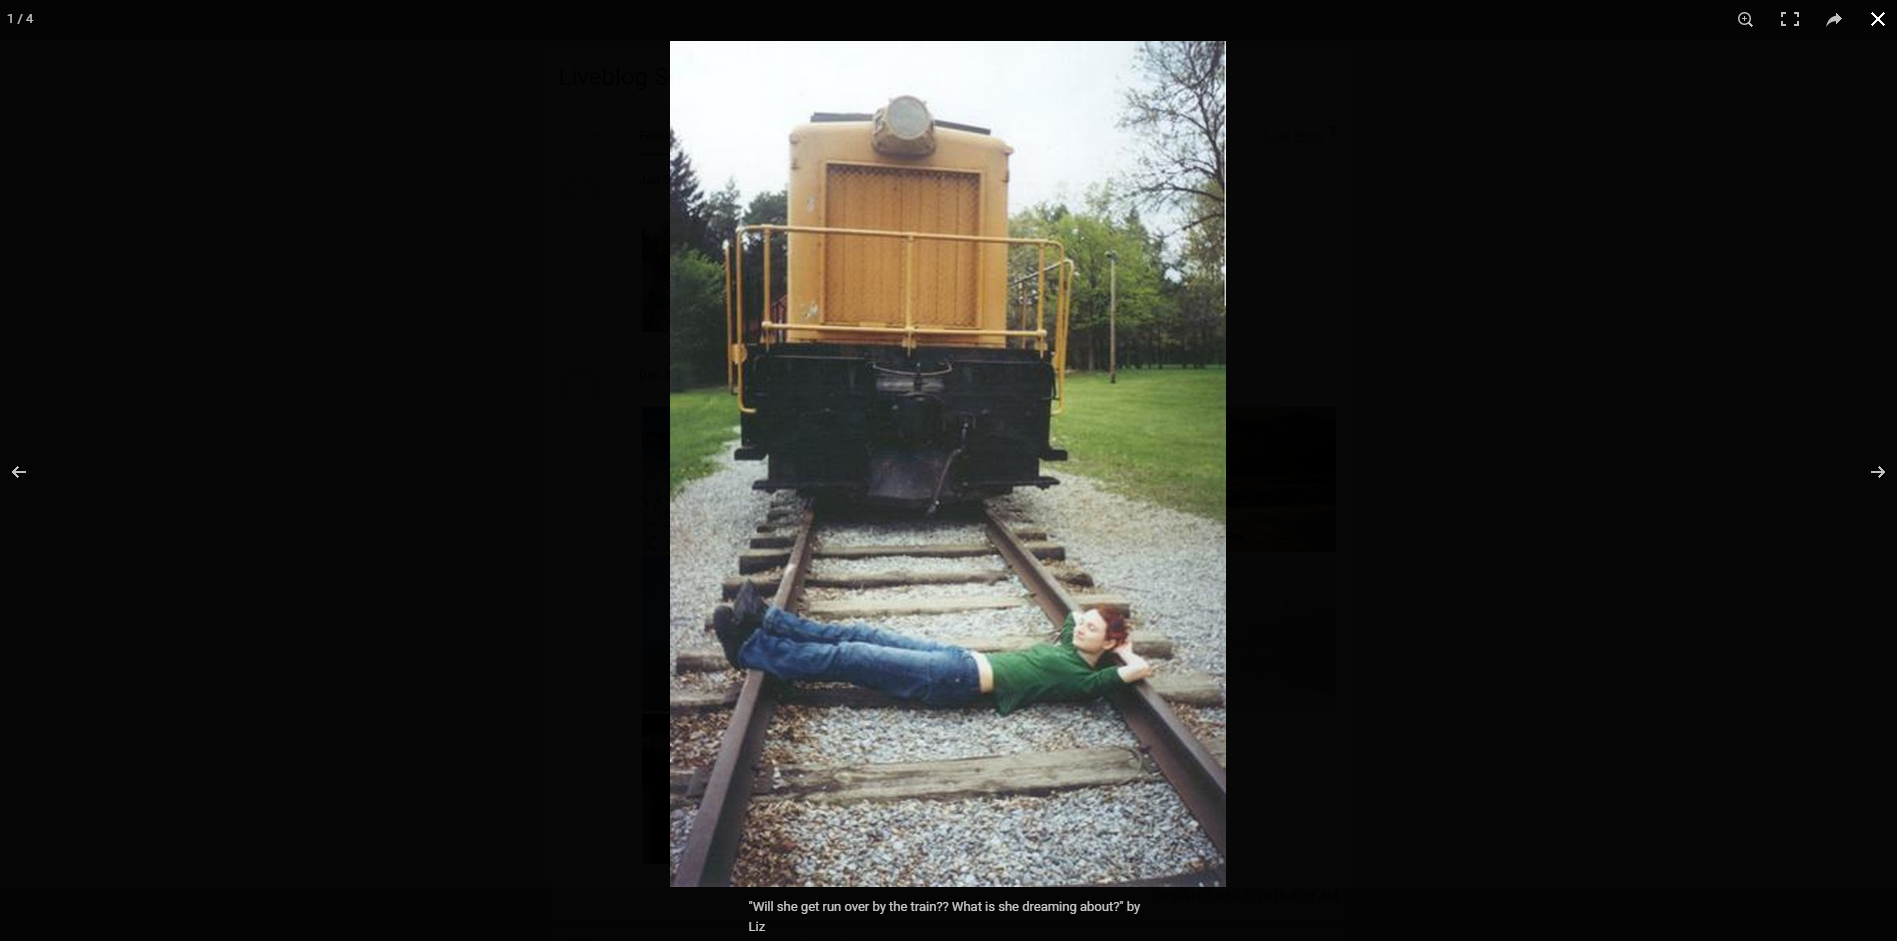
When a reader becomes interested in a photo and clicks on it, they will enter Slideshow mode. The reader will see the full size image on a black background, with the caption and photo credit listed below the image. 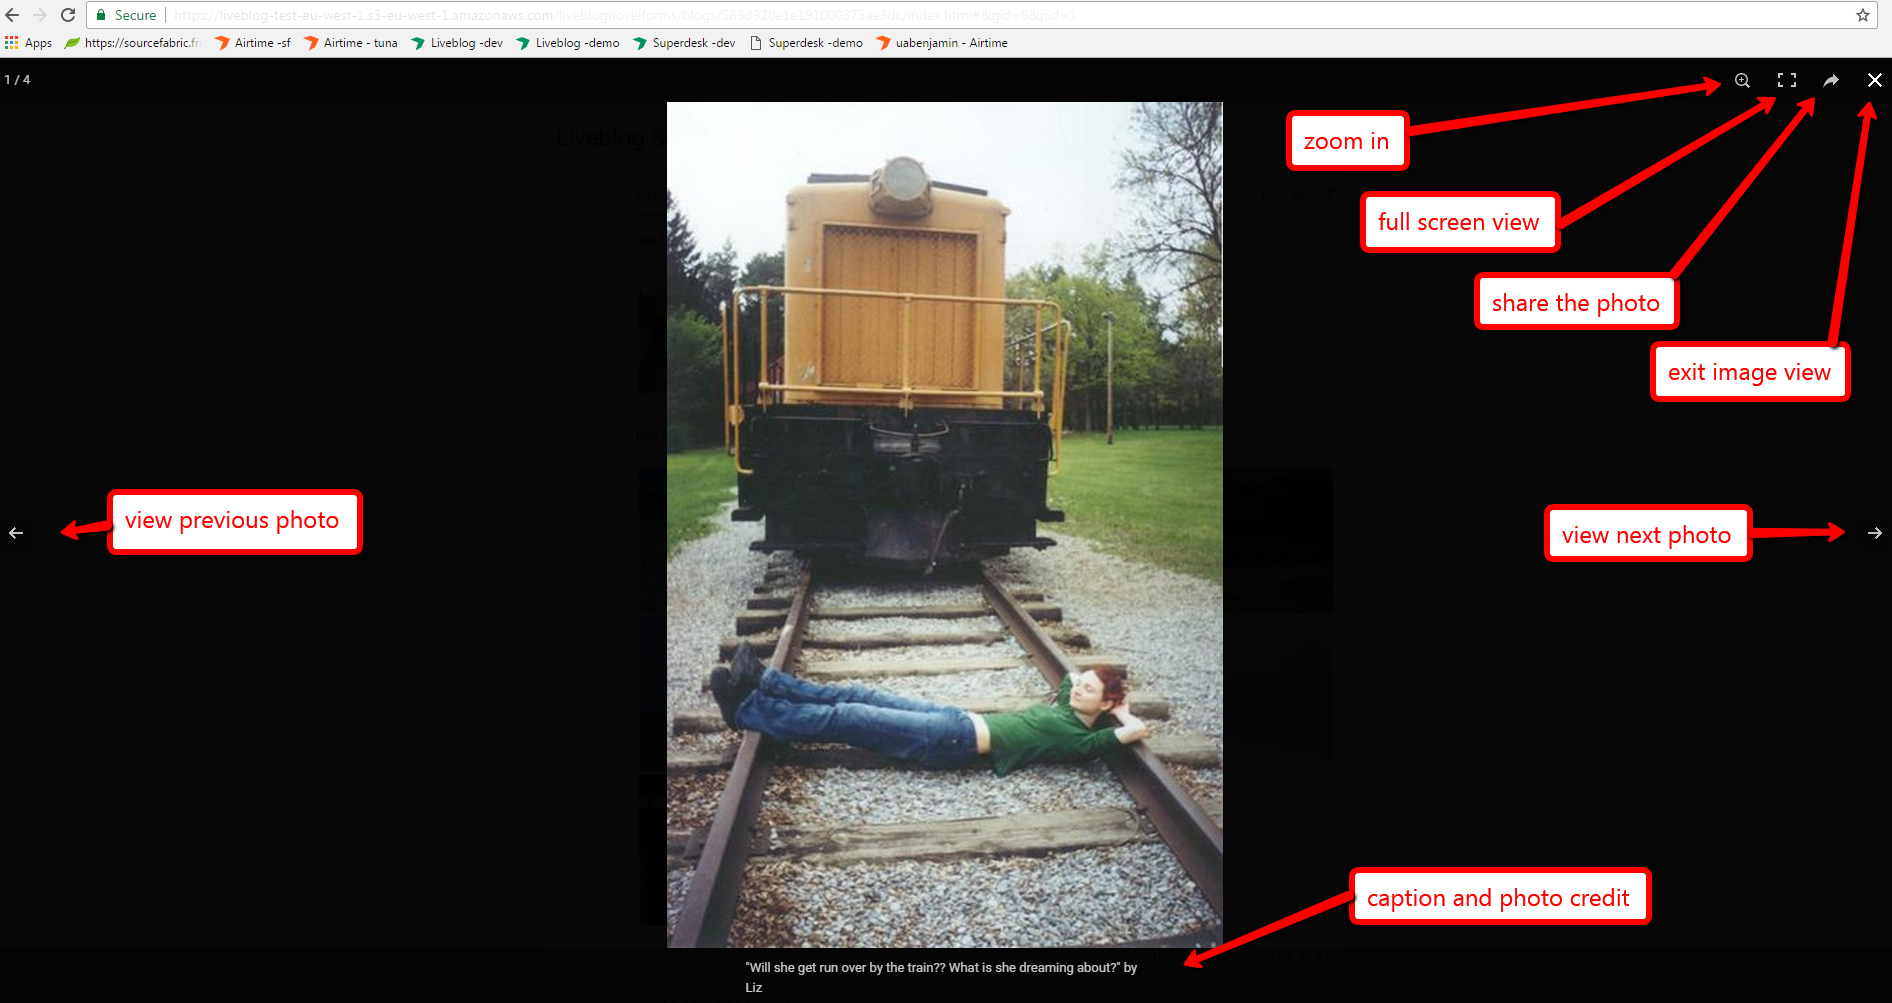
In the top right corner of the Slideshow mode, you will find icons to zoom in, view in full-screen mode, share the photo through social media and exit the slideshow mode.
![]() Zoom in on the image for greater detail.
Zoom in on the image for greater detail.
 Lose the web browser frame. Expand to view in fullscreen mode.
![]() Share the image.
Share the image.
 Exit slideshow mode and return to the main blog view.

 Use the arrows on either side of the slideshow mode window to view other images from the same blog post in slideshow mode.
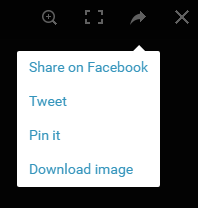
When you click the share icon, you will see options to share the photo via Facebook, Twitter, Pinterest or to download the image to your device to share it in other ways.
Clicking the x icon in the top right corner (or scrolling up or down) will take the reader out of the image view and back to the blog main page.
0 Comments